How to Wrap a Horse’s Leg
December 4, 2023 | Read Time: 5 minutes
In This Article
Wrapping a horse’s legs may be necessary in several different circumstances including for wounds, injuries, during exercise, or for transport. Though the material(s) you wrap with might be different for each of these circumstances, the basics of leg wrapping remain the same. Therefore, in this article, we’ll cover the gamut when it comes to leg wrapping and also provide step-by-step directions for anyone new to the task!
Benefits of Wrapping A Horse’s Leg
Wrapping your horse’s legs can be beneficial for a number of reasons. These include:
- Providing support for tendons and ligaments during strenuous exercise;
- Preventing or reducing swelling after exercise, injury, or during stall rest;
- Protecting legs from concussion and impact such as during shipping; and
- Protecting leg wounds from contamination and to facilitate healing.
Two Rules for Leg Wrapping
There are two main rules that should always be used when wrapping a horse’s legs, no matter the reason:
-
Always wrap from inside to outside in order to prevent tendon damage. In other words, wrap clockwise on right legs and counterclockwise on left legs.
- Maintain the proper amount of tension as you wrap. Bandages that are too tight can restrict blood flow and possibly cause damage to tendons or tissues, and bandages that are wrapped too loosely won’t provide effective compression.
A good rule of thumb is that you should be able to fit two fingers beneath the wrap at the bottom and one finger beneath the wrap at the top.
How to Wrap a Horse’s Leg: A Step-by-Step Guide
If you’re new to leg wrapping, it’s best to ask your veterinarian or another person who is experienced in wrapping legs to demonstrate the task first. Practice wrapping under this person’s supervision to ensure that you’re doing it correctly.
With that said, here are the steps to wrapping a horse’s leg:
- Begin with a clean, dry leg, free of dirt and other debris.
- If there is a wound, ensure that it has been cleaned and dressed appropriately (see more on wound bandaging below).
- For transport or support for wounds or injuries, first use a layer of padding with a thickness of an inch or more. This will protect the leg beneath the bandage or wrap.
- Begin wrapping at the inside of the cannon bone just above the fetlock.
- Wrap clockwise on right legs and counterclockwise on left legs.
- Wrap in a spiral pattern, going down the leg and up again, overlapping each layer by about 50%.
- Use smooth, uniform pressure, ensuring there are no lumps or ridges beneath the wrap.
- If using inner padding, wrap the top layer so that about half an inch of the padding shows at both the top and bottom.
- Ensure your wrap is securely fastened so that it will not easily come undone.
- Allow the horse to become accustomed to their leg wrap before transport, exercise, or leaving them alone in a stall.
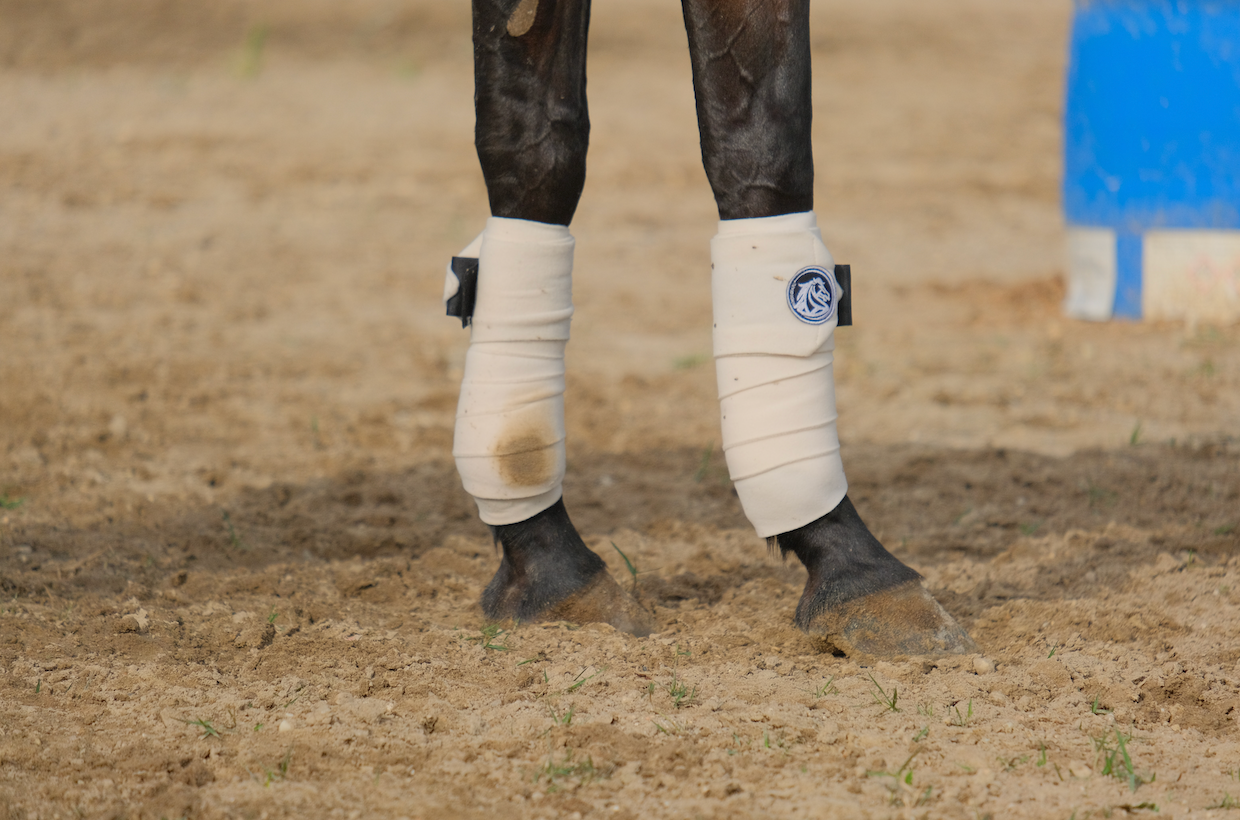
Wrapping Legs for Exercise
To support your horse’s legs during intense exercise or competition, polo wraps are typically used either on the front two legs or on all four legs. When properly used, polo wraps help to support tendons and ligaments during exercise and also protect the legs from hoof strikes.
Polo wraps are made of synthetic fleece and generally come in a length of 9-11 feet and 4-4.5 inches wide. They have a little bit of stretch to them and easily conform to the lower legs. Many polo wraps come with velcro fasteners or they can also be secured with hook-and-loop fasteners. Ensuring that your polo bandage stays fastened during exercise is important, so many people also use a strip of tape (such as electrical, masking, or duct tape).
While polo bandages can be used alone, many people choose to apply an exercise liner on the leg first. This is a thin layer that can offer added protection from concussive forces without adding too much thickness. Most exercise liners are made of materials that wick moisture and promote airflow, which helps to keep the legs cooler.
Wrapping Legs for Transport
Though they aren’t always necessary, shipping wraps can help to protect lower limbs from scrapes and bruises during transport, especially if it’s over a long distance. For this purpose, use standing wraps, which look similar to polo wraps, but are wider and made of a different type of material. Standing wraps are made of tightly knit synthetic fabric that has little stretch to it. They are generally about 12 feet long by 5.5 inches wide for full-sized horses (smaller for ponies).
Another difference between wrapping for shipping versus wrapping for exercise is that you will want to use a thick layer of padding (leg quilt) beneath your wrap. This provides added cushioning and protection while the horse is in the trailer. Shipping wraps can also be wrapped a little higher than exercise wraps, with the wrap extending from just below the knee or hock, down to the bottom of the fetlock joint.
How to Bandage a Horse’s Leg for Wound Care
Wrapping lower leg wounds will look a little different than wrapping for exercise or shipping. For example, your bandage wrap should have three distinct layers:
- Primary Layer: This layer goes directly over the wound and should consist of a non-stick material such as gauze to prevent damage to new tissue when the bandage is changed.
- Secondary Layer: This layer provides gentle, uniform pressure over the wound and helps to avoid constriction from the third layer. Materials such as cotton or wool are good options. Center this layer of padding directly over the wound.
- Tertiary Layer: This is the outermost layer that will secure the first two layers in place and provide additional compression. Vetrap™ is commonly used for this layer, but you can also use standing wraps.
For lower limb injuries that need added support, you can leave off the primary layer and use the last two layers instead.
Re-Wrapping Legs
For injuries and wounds, legs should typically be re-wrapped daily, unless otherwise directed by your veterinarian. Re-wrapping is important to allow you to examine the legs for signs of heat, swelling, or irritation, and it also alleviates circulation issues that can occur with bandage slipping.
Finally, re-wrapping legs helps to avoid skin irritation by allowing you to clean any dirt or debris that may have worked its way under the wrap. For best results, always use clean materials to re-wrap legs. Fortunately, most leg wraps and padding materials can be cleaned in your washing machine.
→Support joint health with probiotics! Studies show that the gut is linked to whole body health, including acting as an anti-inflammatory. Click here for the #1 veterinarian-formulated probiotic for horses.←

